There is a way in Photoshop CS5 and later where we can use some great tools to rectify the situation.
Let's start with the image.
In Photoshop make sure the image layer is not set to "background" (double click the layer if required).
From the Edit menu select Transform / Rotate and rotate the image until the horizon is horizontal. Using a guide to help with this. When this is done you will see the errors in the corners.
OK now we need to select the area of the original image. To do this Control + click the image in the layer list. This will give a selection of the original image.
We need the inverted the selection so Shift+Ctrl+I (Menu/Select/Invert).
For the effect to work the selection area needs expanding. The amount will depend on the original image size. Use a value of around 1% of the image height. In my case the image was 533px high and a value of 5 was used.
Now for the magic.
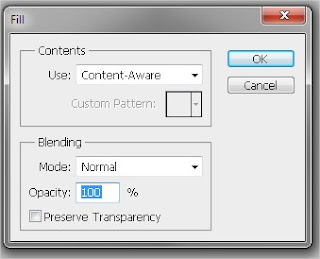
 Use the Shif+F5. This presents you with the Fill dialogue. Set the "Use" selection to Content Aware. When OK is selected your image will now have the corners filled in as if they where always there. Some images may need a little touching up but most of the hard work is done for you.


No comments:
Post a Comment